Here’s a step by step guide on making an enlargement of our stencils that you can print out on your home printer to multiple pages.
7 SIMPLE STEPS:
1. FIND YOUR STENCIL.
Pick out your stencil of choice and save the image file to your computer.
2. INTRODUCING RASTERBATOR.NET!
Go to rasterbator.net and click on “CREATE YOUR POSTER”

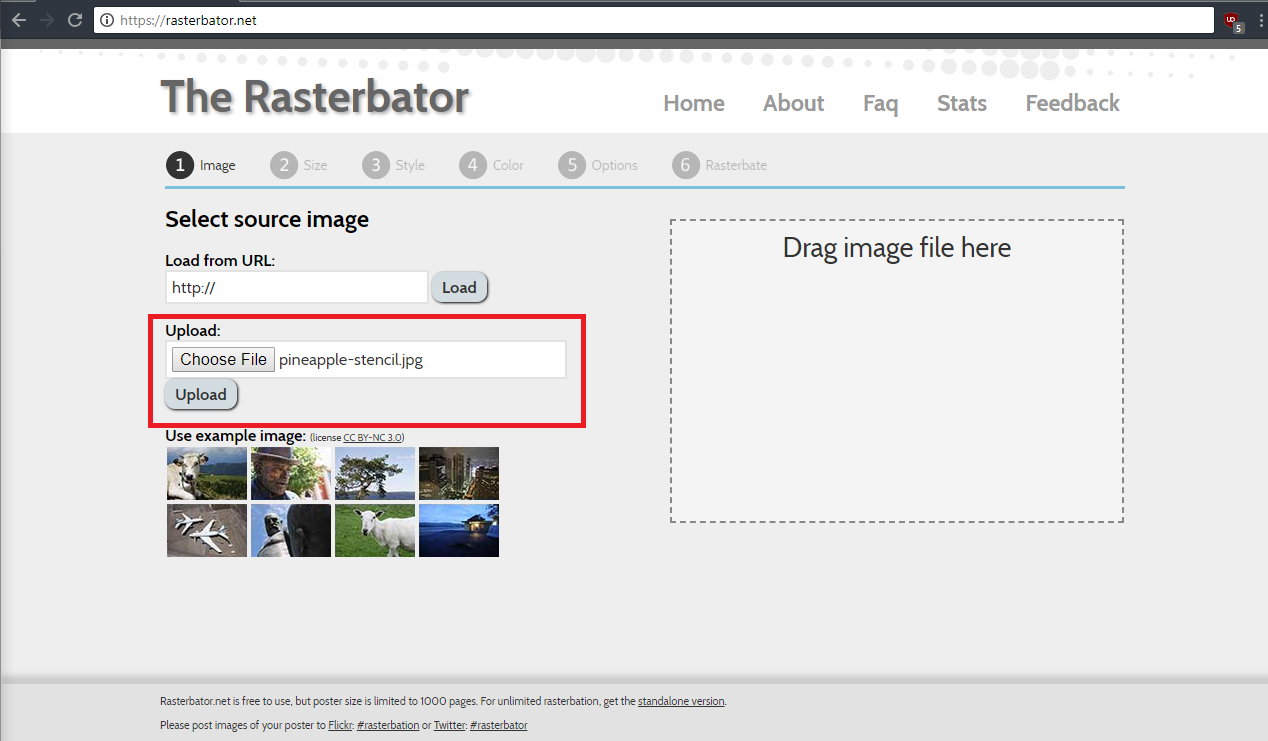
3. UPLOAD THE STENCIL.
Upload the stencil file you saved from Step 1.
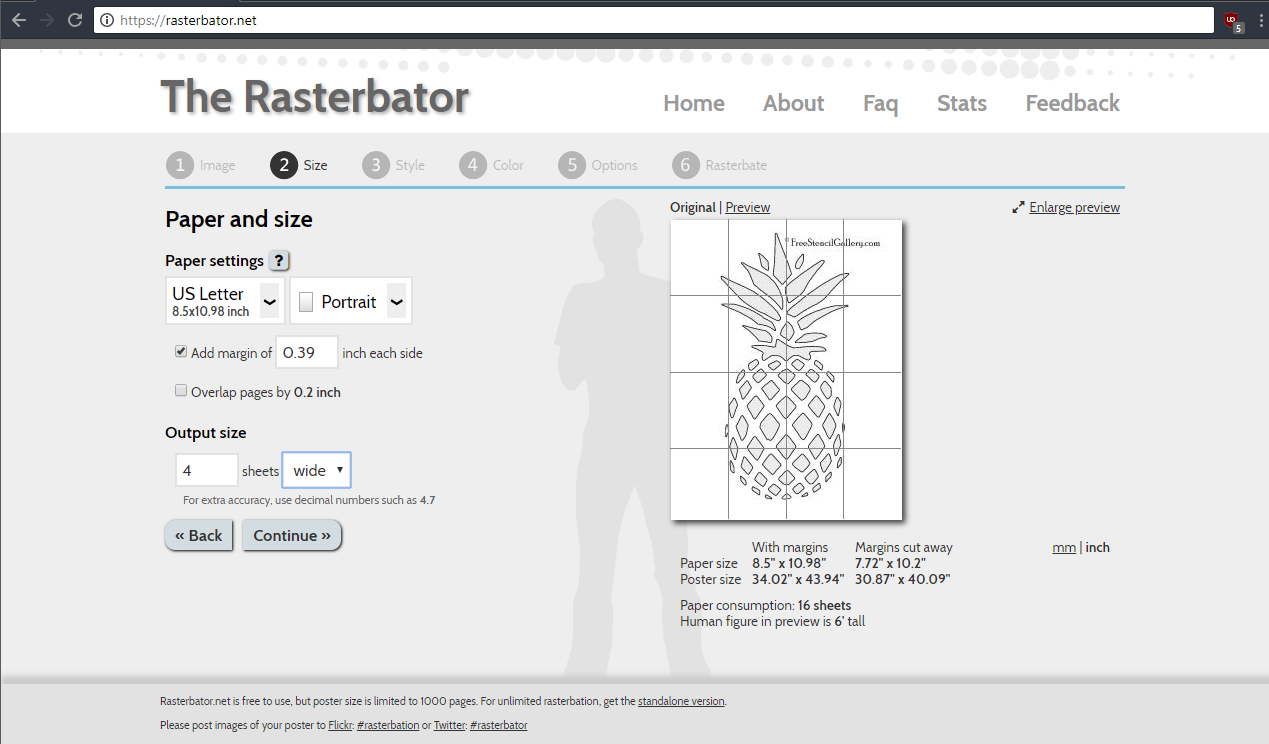
4. DECIDE HOW BIG OF AN ENLARGEMENT YOU WANT TO MAKE.
Change the “Paper Settings” to match your printer and the “Output Size”. The Preview on the right side shows you how many sheets of paper the stencil will print to. Then select “Continue”.
5. PICK “NO EFFECTS” STYLE
6. COMPLETE THE ENLARGEMENT
Click on “COMPLETE X PAGE POSTER”. A PDF should automatically Download.
7. PRINT AND ASSEMBLE YOUR STENCIL ENLARGEMENT.
Print the PDF from Step 6, and assemble with tape (use the guidelines to help you align the pages correctly). Once assembled cut out and use your newly finished giant stencil template.